Call This Sunday to Get $50 Off
Schedule a Local Plumber in Morgantown Area - Call us Now to Get $35 OFF.
4.8 / 5 Ratings based on 794 reviews Great Plumbers, Great Reviews

Call This Sunday to Get $50 Off
Schedule a Local Plumber in Morgantown Area - Call us Now to Get $35 OFF.

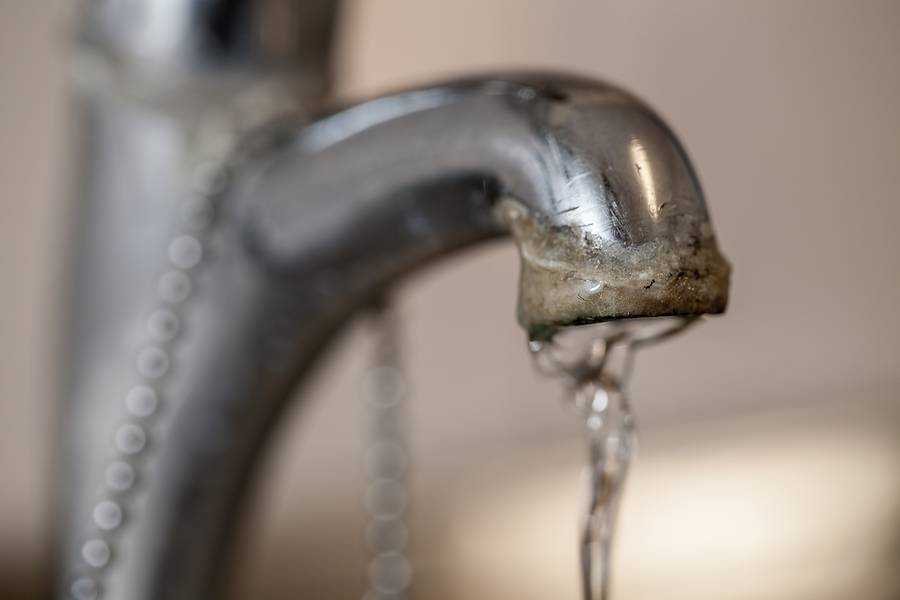
A leaking outdoor faucet may seem like a small, insignificant issue at first, but it can cause serious problems if left unaddressed for an extended period. Not only can it waste a lot of water and drive up your utility bills, but it can also create damp patches of soil around the foundation of your house. Luckily, fixing a leaky outdoor faucet can be easy and quick if you’re equipped with basic plumbing skills and the necessary tools.
At Mr. Rooter Plumbing, we offer a comprehensive range of plumbing services, including faucet repair and leak repair. Today, we will look at some of the ways you can fix a leaky outdoor faucet.
One of the common causes of a leaking outdoor faucet is a broken seal between threaded connections. The first repair option for a leaky outdoor faucet is to inspect the threaded portion of the faucet stem and apply pipe thread seal tape to seal any gaps or imperfections. If this doesn’t resolve the problem, remove the handle and check the condition of the seals and gaskets.
Outdoor faucets consist of a rubber washer or O-ring that creates a tight seal between the faucet body and the valve stem to prevent leaks. Over time, the washer assembly can become worn or damaged, causing the faucet to leak. If the cause of the leak is a damaged washer assembly, you’ll need to replace the components to resolve the problem. The following are the steps to follow to replace the washer assembly in an outdoor faucet.
Note that you should only attempt to repair a leaking faucet if you have an understanding of plumbing concepts. If you’re not sure about the steps to follow, it’s best to call a plumber to help you out.
While faucet repair is considered a simple DIY task for someone with basic plumbing skills, it’s important to seek help from a professional plumber if you’re not sure how to go about the process. Here at Mr. Rooter Plumbing, we offer reliable and affordable faucet repair and leak repair services. With decades of experience in the plumbing industry, we have the skills to fix all kinds of faucet problems.
Jun,01,2026
As sewer repair experts who’ve been around for some time, we can confirm that much…
Read More+
May,28,2026
Bathroom plumbing often takes a back seat when homeowners undertake home improvements. Most people focus…
Read More+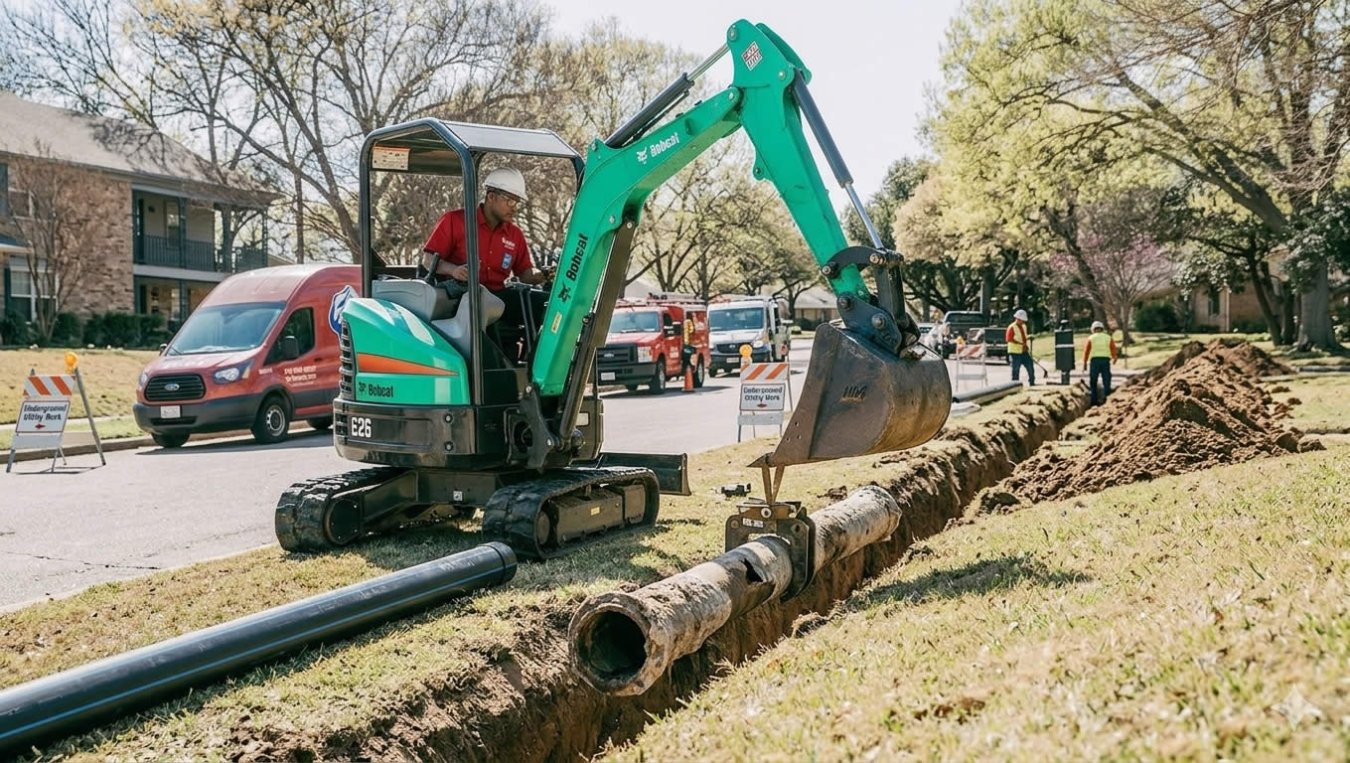
May,22,2026
At Mr. Rooter Plumbing, we understand that water line replacement is a significant project…
Read More+